How to enlarge images in 5 important steps
How to edit photos in 5 important steps before printing out Large images of your holiday photo. Secrets of an image editors workflow.
Imagine that you can have your room filled with a Large printed poster or canvas of that amazing picture you took on the last vacation.
Or you went with your friends outside the town and spotted that spectacular photographic scenery that you couldn’t resist to take your camera out of your pocket and took that beautiful photo.
Perhaps you just saw an amazing picture in an image bank of a place you wish to go to and that you want to hang on the wall. You realized that when you sent this image to a print shop and had it printed to the size over 15 inches, the image was nothing but disappointment. Pixelated and the quality and final composition looked anything but nice?
What did go wrong? Is there any way you could do it better?
Check with these steps, what you might miss when trying to edit your images before sending out your image to print.

Table of Contents
Step 1 »
Analyze the BIG picture
Have you analyzed the photo and checked image size before processing?
Was the quality of the photo appropriate to the size you wish to enlarge to?
Which color mode you set before editing?

Step 2 »
Edit, Crop & Enhance
Did you edit the image at all?
Was the picture cropped with one of the composition rules?
Did you checked the histogram in Levels and used saturation and contrast tool?
What was the photography light temperature?

Step 3 »
Tweak create your style
Did you use an effect, filter or feeling?
Which photography style you could use to add more cool look?

Step 4 »
Upscale and finishing up
Did you Up-sized your photo to the desired size before sending to the printer?
Was sharpening and retouching done to make finishing touches?

Step 5 »
Export, save and upload
Which image format did you use and sent?
Could that image be transferred to Highest available quality?
If you found just one or even more NO in these questions, there is for you the eBook with the answers.
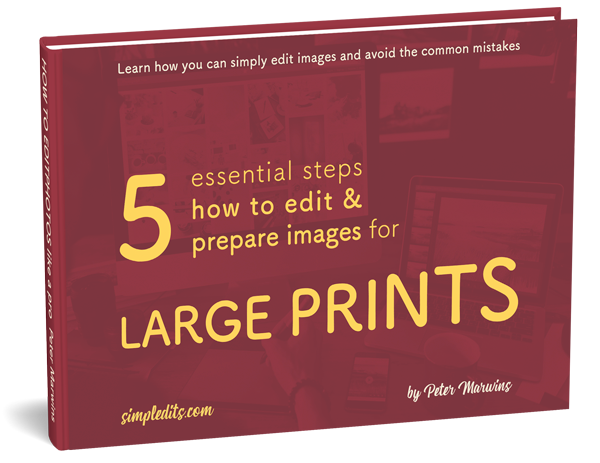
5 basic steps to prepare and edit images for LARGE PRINT
to show you exactly how you can simply check and edit images like an image editor.

Learn 5 crucial steps in image editing.
Do you know them?
This free ebook will help you
- to analyze
- to prepare
- to edit
- to finish
- export images


 9 Essential Photo Editing Tips for Professionals
Taking a photo is only half of the photo-making process in today's…
 Photography styles to make your photo look better
How to add great photo styles to your images and make them stand out…
 How to edit photos and why to edit images for social sites?
There is always a question of time. Edit the photos or not…